Example Foundation Repair Projects in Kirkland

Five jobs from Kirkland, Kenmore and Clyde Hill are set out here, each with the house, what the owners asked for, what the work involves and what it could cost.

None of the examples is a past job, a client or an address. They illustrate the work we plan and quote.

Piers for a corner where a door frame has cracked

Example project
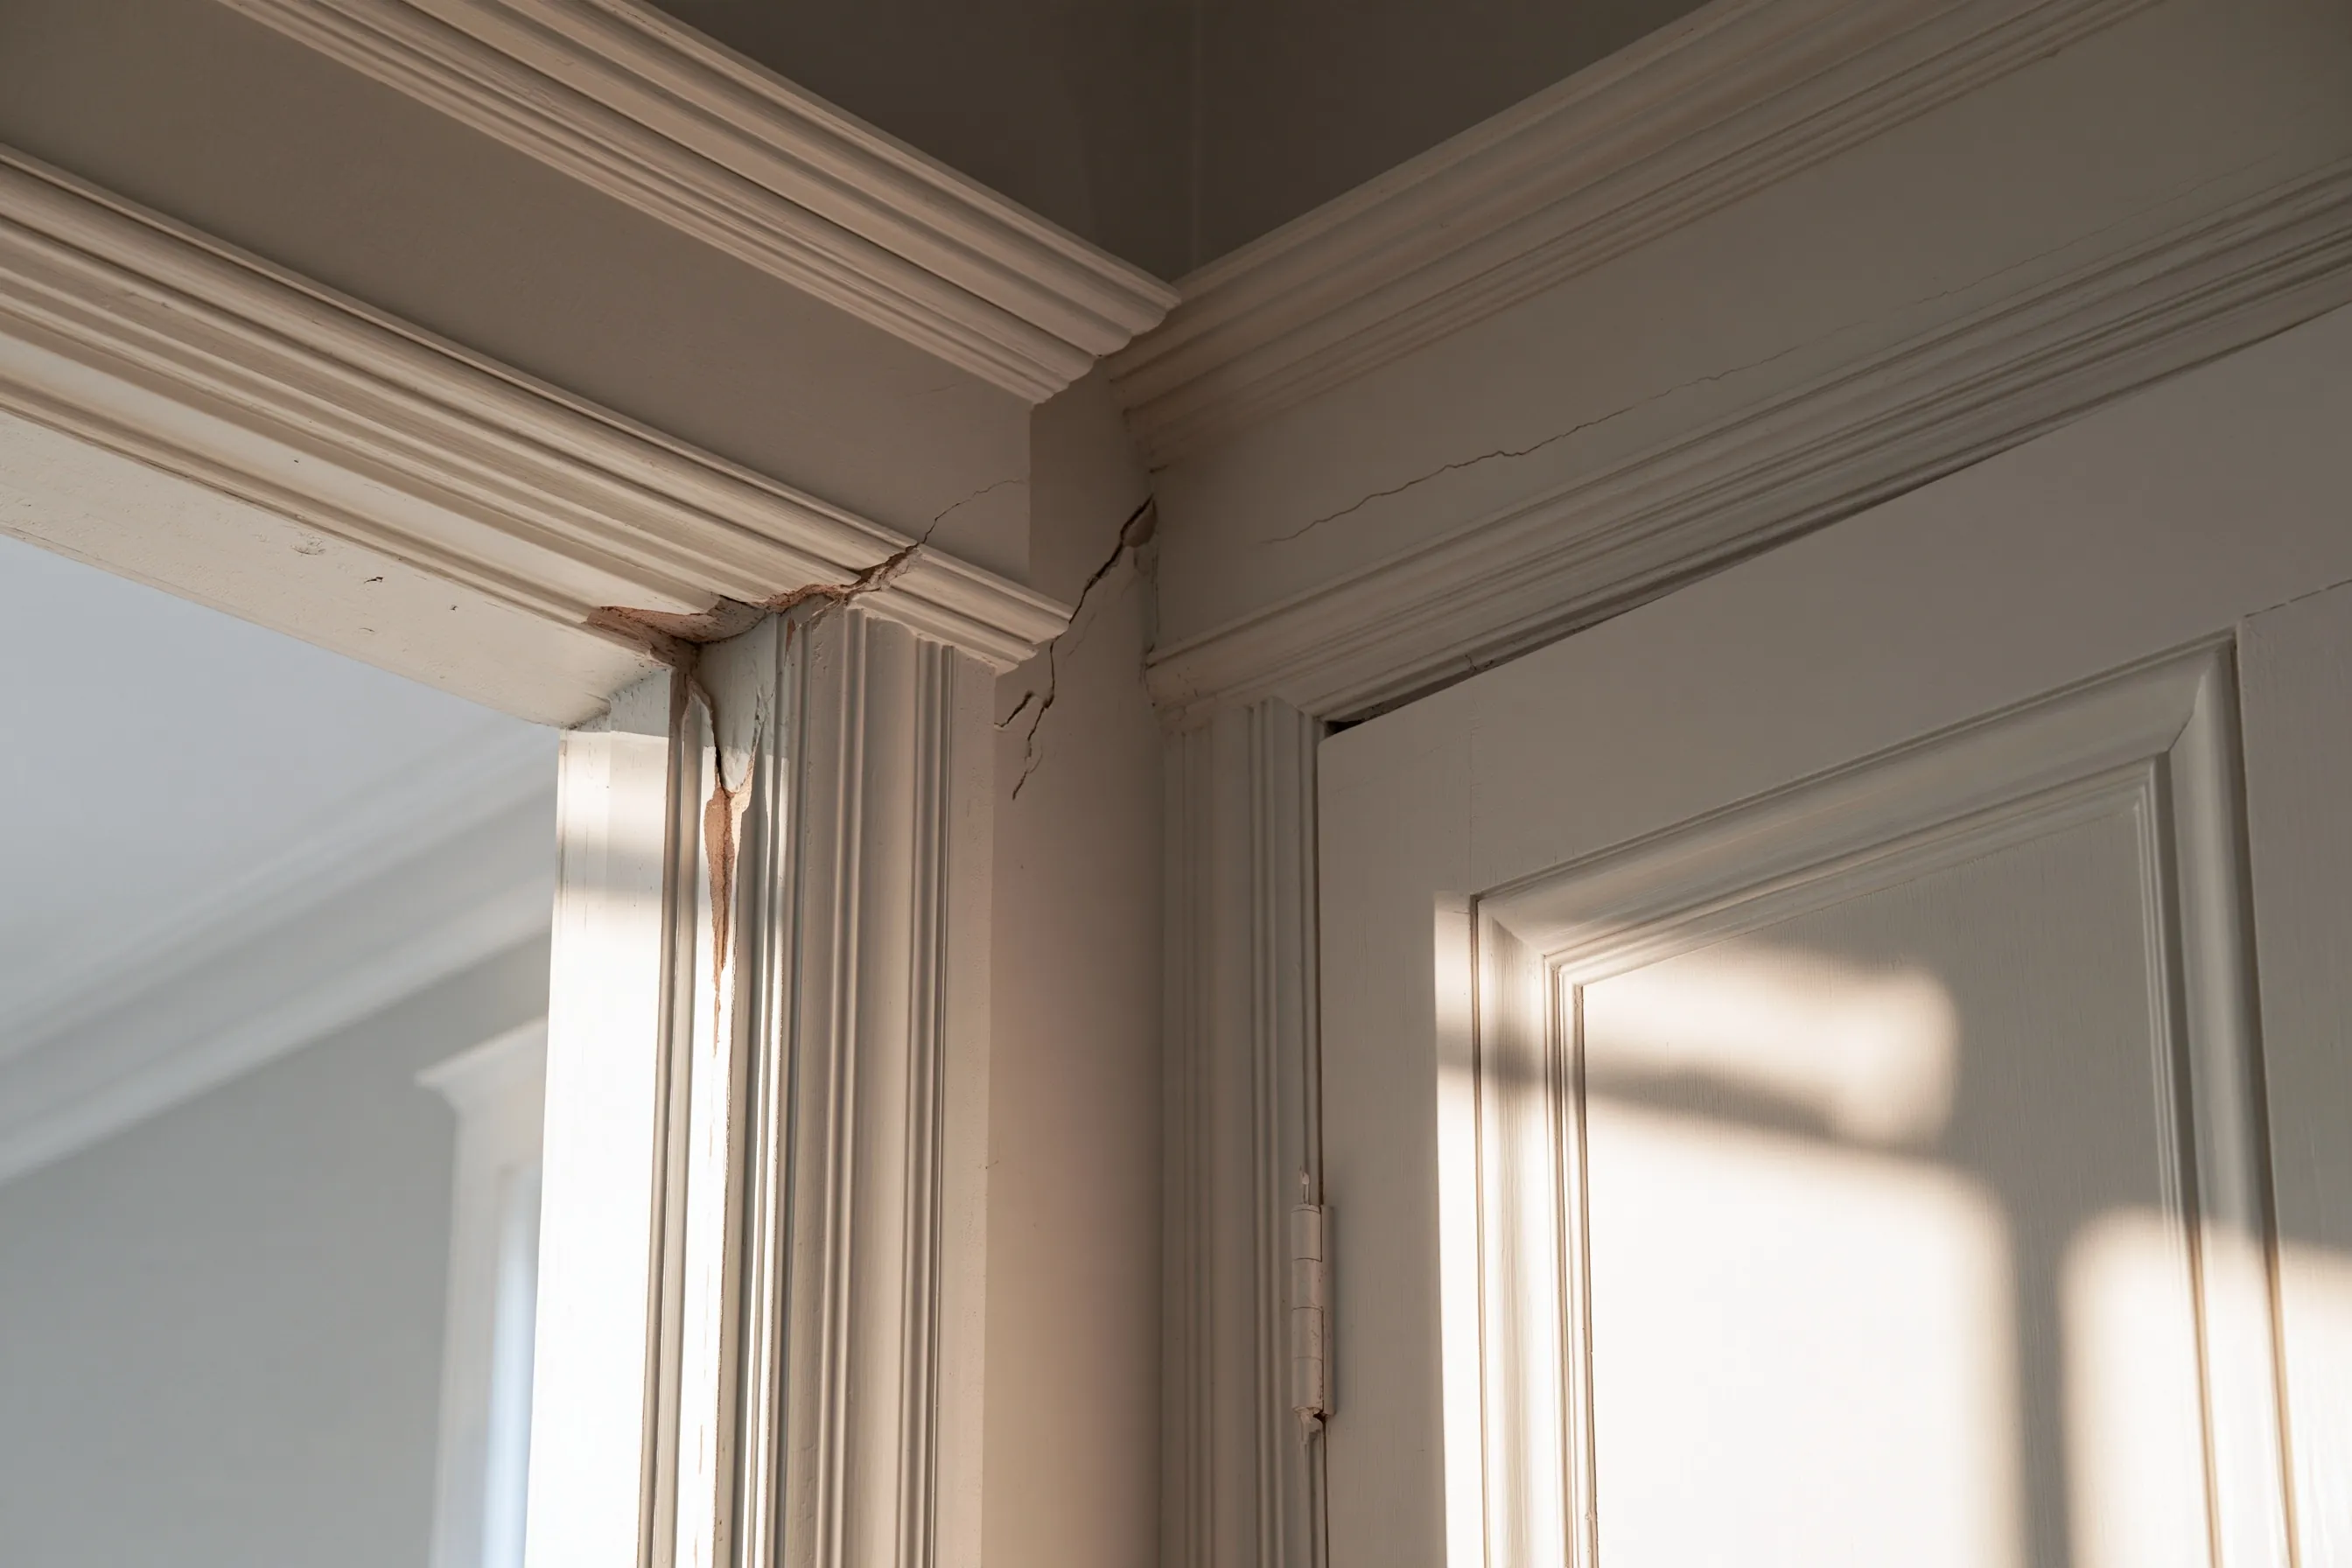
Corner of a doorway with painted trim, a crack running from the door head trim up into the wall, a fine crack along the trim above and a thin dark gap at the top of the door
Home
House in Kirkland with painted trim around its doorways
Original request
A doorway whose trim has cracked at the corner, with a gap above the door
What shows
A crack from the trim corner into the wall and a fine crack along the trim
Work outside
Three or four piers at the corner nearest that doorway
Not included
Interior repairs and paint
Cost
$8,800

Scope of work

Digging beside the foundation at the corner nearest the doorway, three or four steel piers to the depth the plan calls for, backfill, and a check of the doors on that side. Interior patching, paint, an engineer’s design and permit costs are not part of this cost.

Project overview

In this example, the owners of a house in Kirkland find the trim above a doorway cracking at its corner. A crack runs up into the wall from it, and there is a thin dark gap at the top of the door.

Cracks like this can come from many things, so the plan starts with measuring the doorway and the floor around it. If the numbers point to the corner below, three or four piers are set there.

The goal

The goal is a cracked doorway whose cause has been traced to the corner below, with piers set where the measurements point.

Process

  1. Before work The doorway, the floor and the outside corner are measured, and the plan and the permit question are written.
  2. Dig The corner nearest the doorway is dug out beside the footing.
  3. Piers Steel piers are set one by one to the depth the plan shows.
  4. Check The strip is backfilled, and the doors on that side are tried again.

Planning right

  • Mark the ends of the cracks with a date, and take a photo of the gap above the door.
  • Tell us which other doors or windows stick, and since when.
  • Ask whether the plan checks that nothing else, such as a roof leak, explains the cracks.
  • Ask who settles the permit question with the Development Services Center.
Get a free quoteMore about settlement and piers

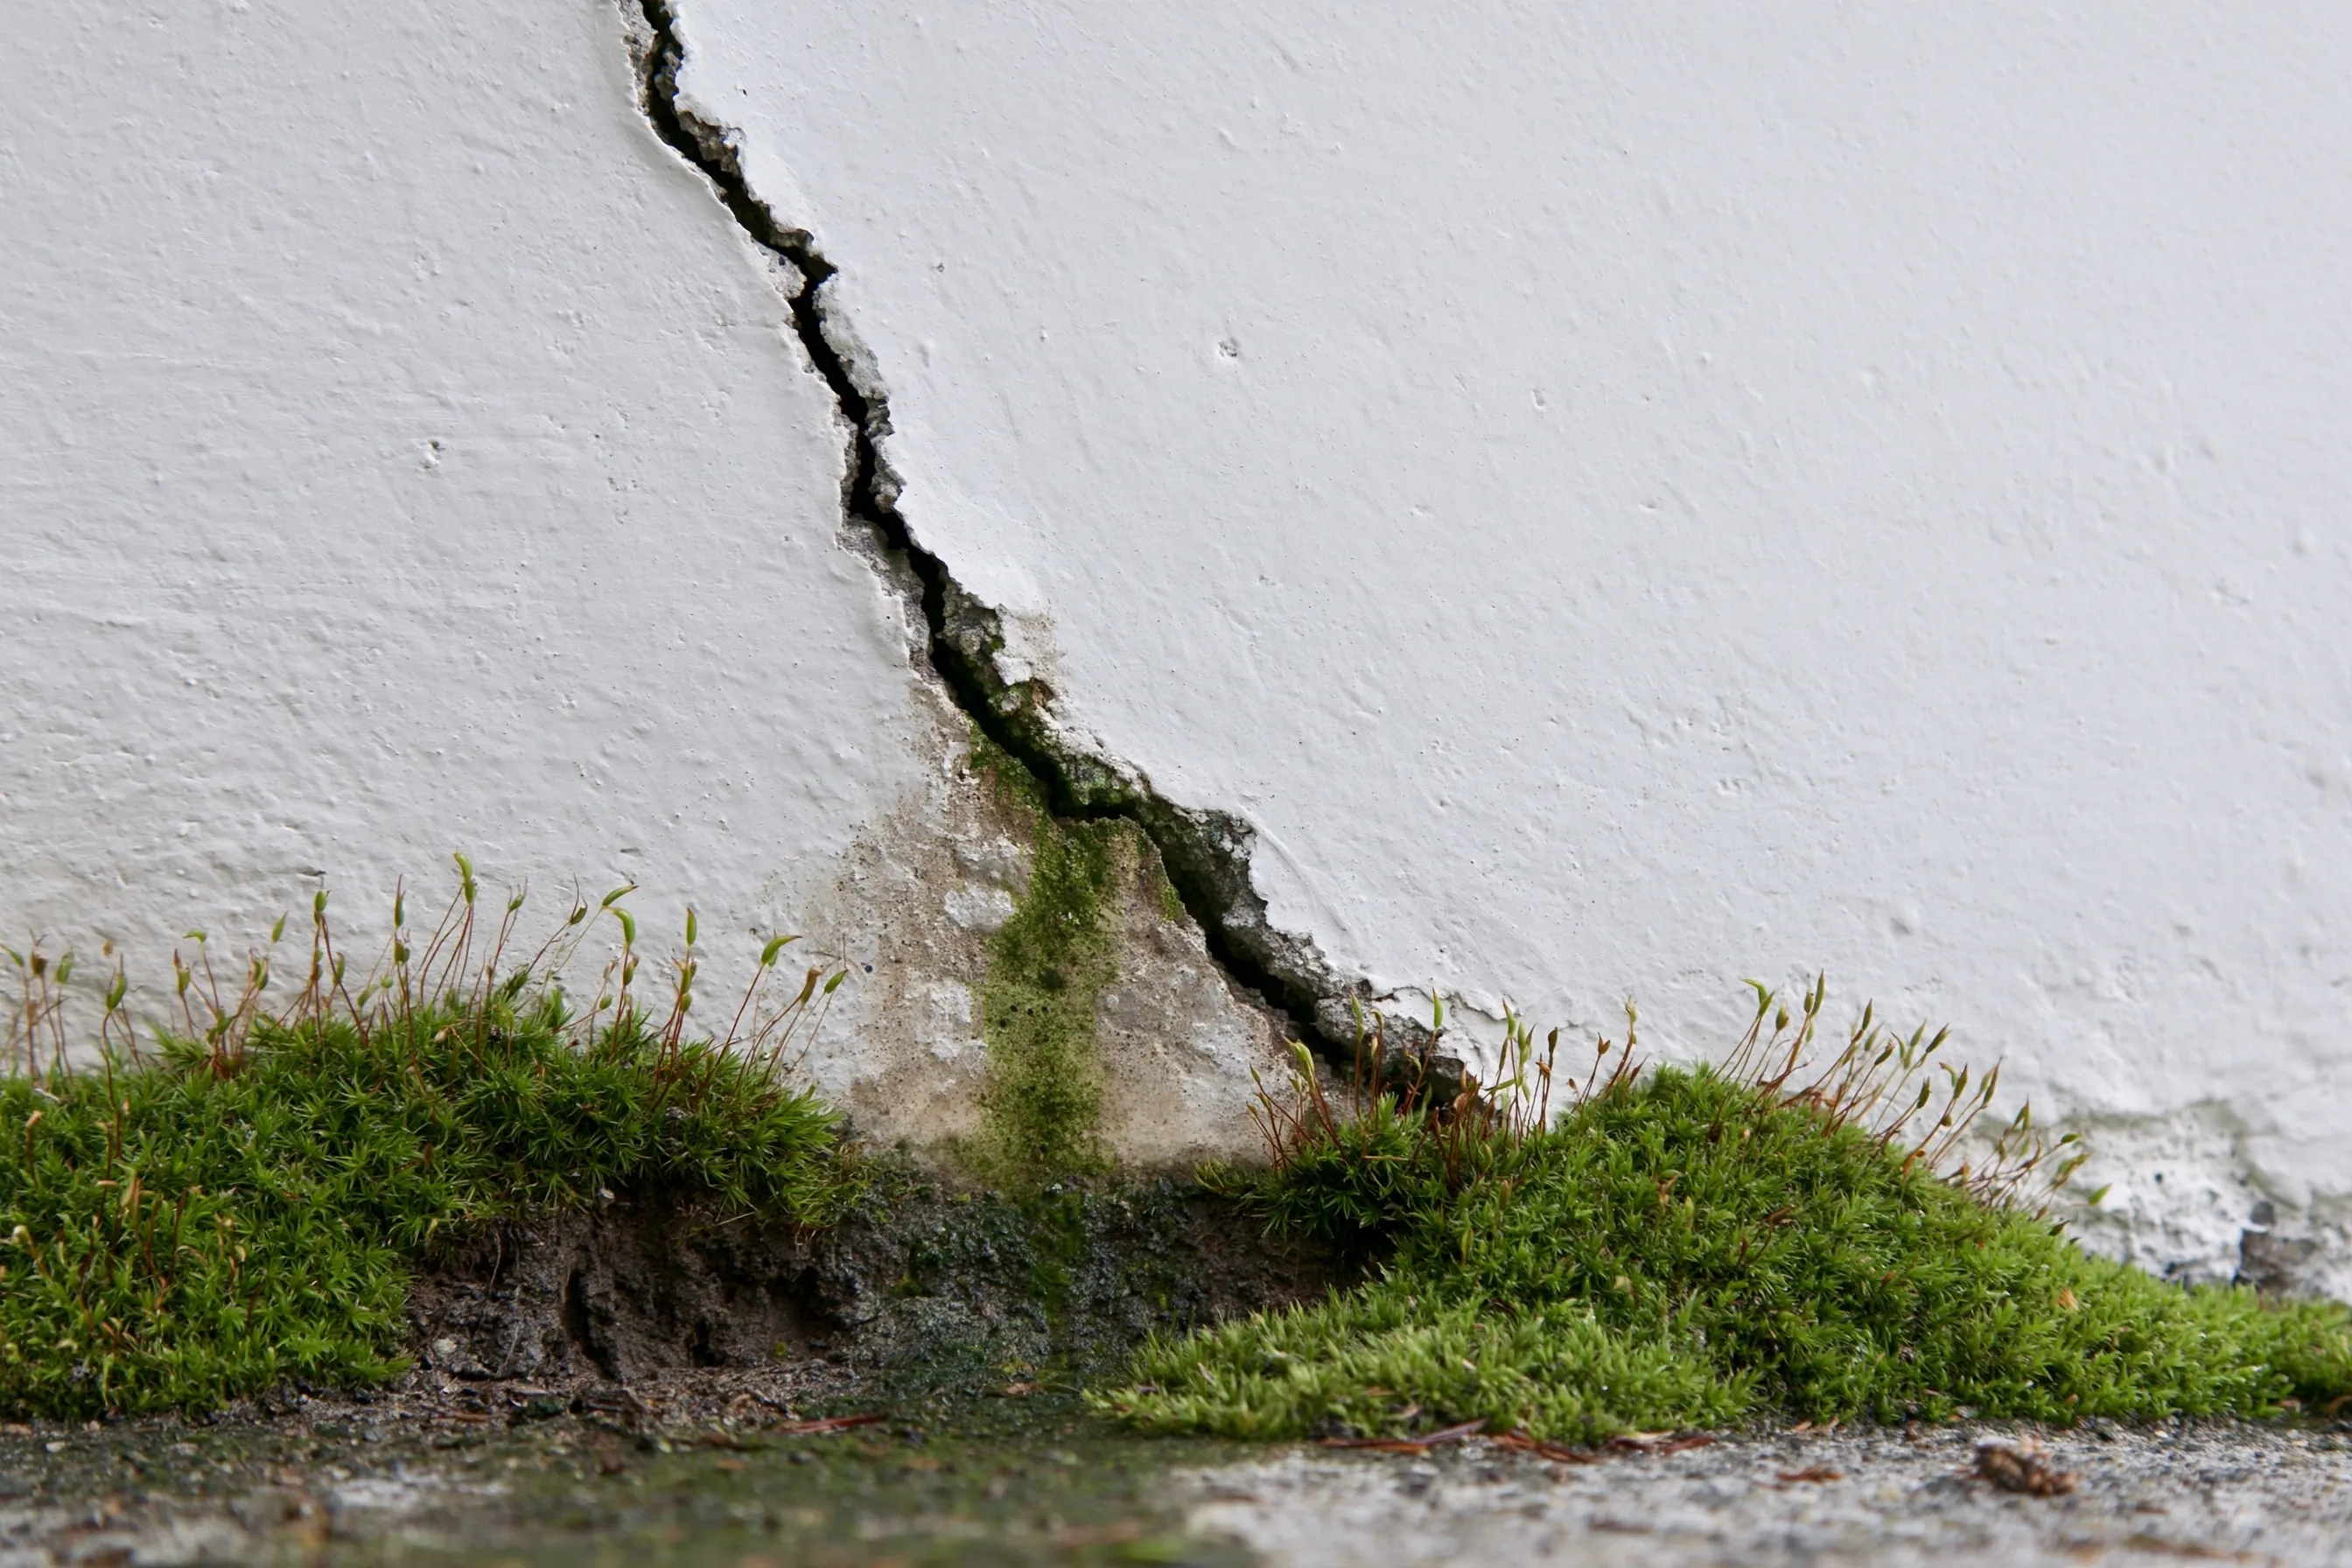
A diagonal crack in a painted wall, with moss at the soil line

Example project

Close view of a white-painted wall with one diagonal crack running down to the soil, moss on both sides at the ground and a damp stain and green growth under the crack
Home
House in Kirkland with a white-painted foundation wall
Original request
A crack that has grown and leaves a green streak below it
Crack
Diagonal, running from high on the wall down to the soil
At the soil line
Moss on both sides and a damp stain under the crack
Not included
Repainting the wall
Cost
$2,100

Scope of work

Measuring and marking the crack, cleaning out the moss and loose material, and sealing the crack as the plan calls for, from the inside where the wall can be reached. Repainting, an engineer’s design and permit costs are not part of this cost.

Project overview

In this example, the owners of a house in Kirkland see a diagonal crack in a painted foundation wall. Moss grows at the soil line and a damp, green streak runs under the crack.

The crack is wider than a hairline, so the plan begins with two measurements a season apart. Where the wall can be reached from inside, it is sealed there, and the ground at the moss is looked at too.

The goal

The goal is a diagonal crack with two measurements behind it, sealed as the plan allows and read again after the wet season.

Process

  1. Before work The crack is measured and marked at both ends, and the ground at the base is photographed.
  2. Clean Moss and loose material are cleared from the crack and the base of the wall.
  3. Seal The crack is sealed as the plan states, with the method and the limits of the repair written down.
  4. Check The marks are read again after the next wet season.

Planning right

  • Put a dated mark at each end of the crack.
  • Tell us if the crack runs beside a door or a window above.
  • Ask where the water at the base comes from, because sealing the crack does not move it.
  • Ask whether the wall can be reached from inside.

Get a free quoteMore about foundation crack repair

One post replaced in a long row under the floor

Example project

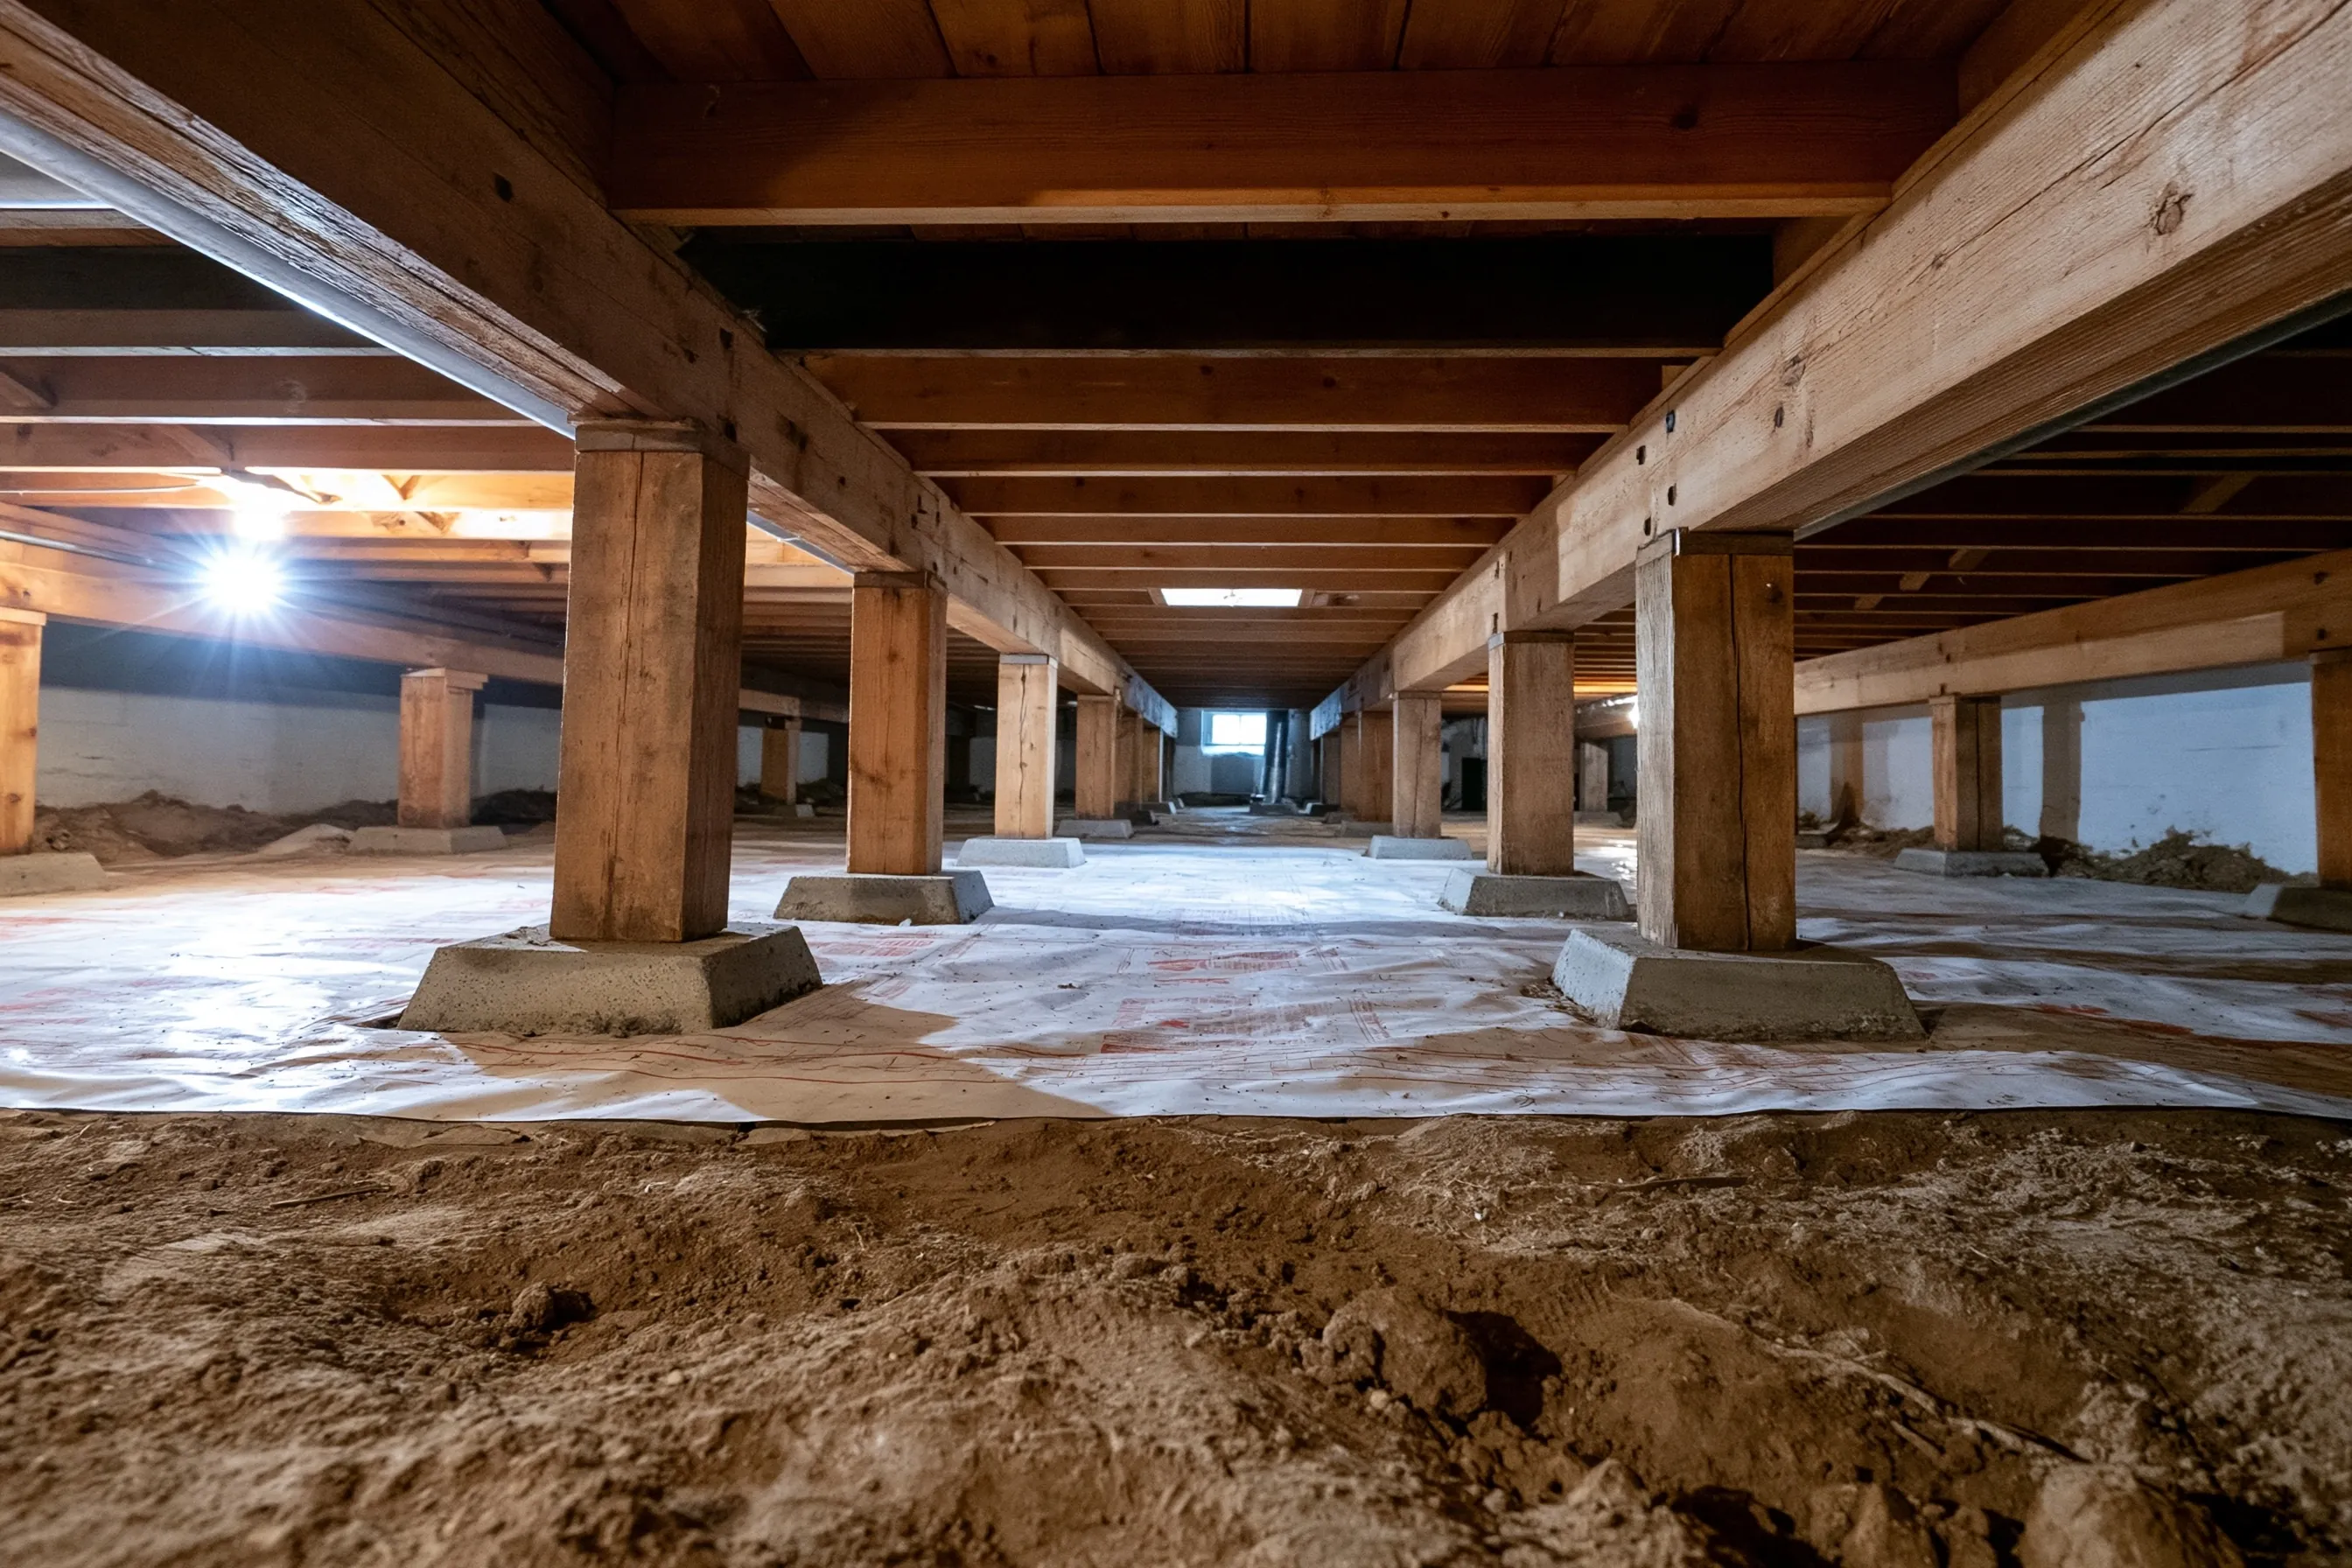
Low crawlspace with rows of timber posts on concrete pads under wood girders and joists, a plastic sheet on the ground in the middle and bare soil in front
Home
House in Kirkland with a crawlspace
Original request
One spot where the floor gives underfoot
Under the floor
Rows of timber posts on concrete pads under wood girders
Ground
A plastic sheet in the middle and bare soil at the front
Not included
Floor finishes above
Cost
$600

Scope of work

A temporary support, one new post on a new pad, a connector at the top and the ground sheet put back. Floor finishes are not part of this cost.

Project overview

In this example, the owners of a house in Kirkland feel one spot in the floor give a little when they step on it. Under the floor a long row of posts holds up the girder, and the owners suspect the post below that spot has settled.

The rest of the row looks sound, so the plan replaces one post. All of them are checked on the same visit.

The goal

The goal is the one failed post swapped out on a new pad, with the rest of the row checked the same day.

Process

  1. Before work The crawlspace is entered and the posts nearest the soft spot are checked one by one.
  2. Support A temporary jack takes the load off the post.
  3. Replace A new post is set on a new pad and fastened to the girder.
  4. Close up The jack comes out and the ground sheet is smoothed.

Planning right

  • Tell us where the floor gives and how long you have noticed it.
  • Ask for a photo of each post, not only the one that is replaced.
  • Clear the way to the hatch.
  • Ask what is done about the sheet on the ground.

Get a free quoteMore about crawlspace posts and beams

Short walls braced before a kitchen remodel begins

Example project

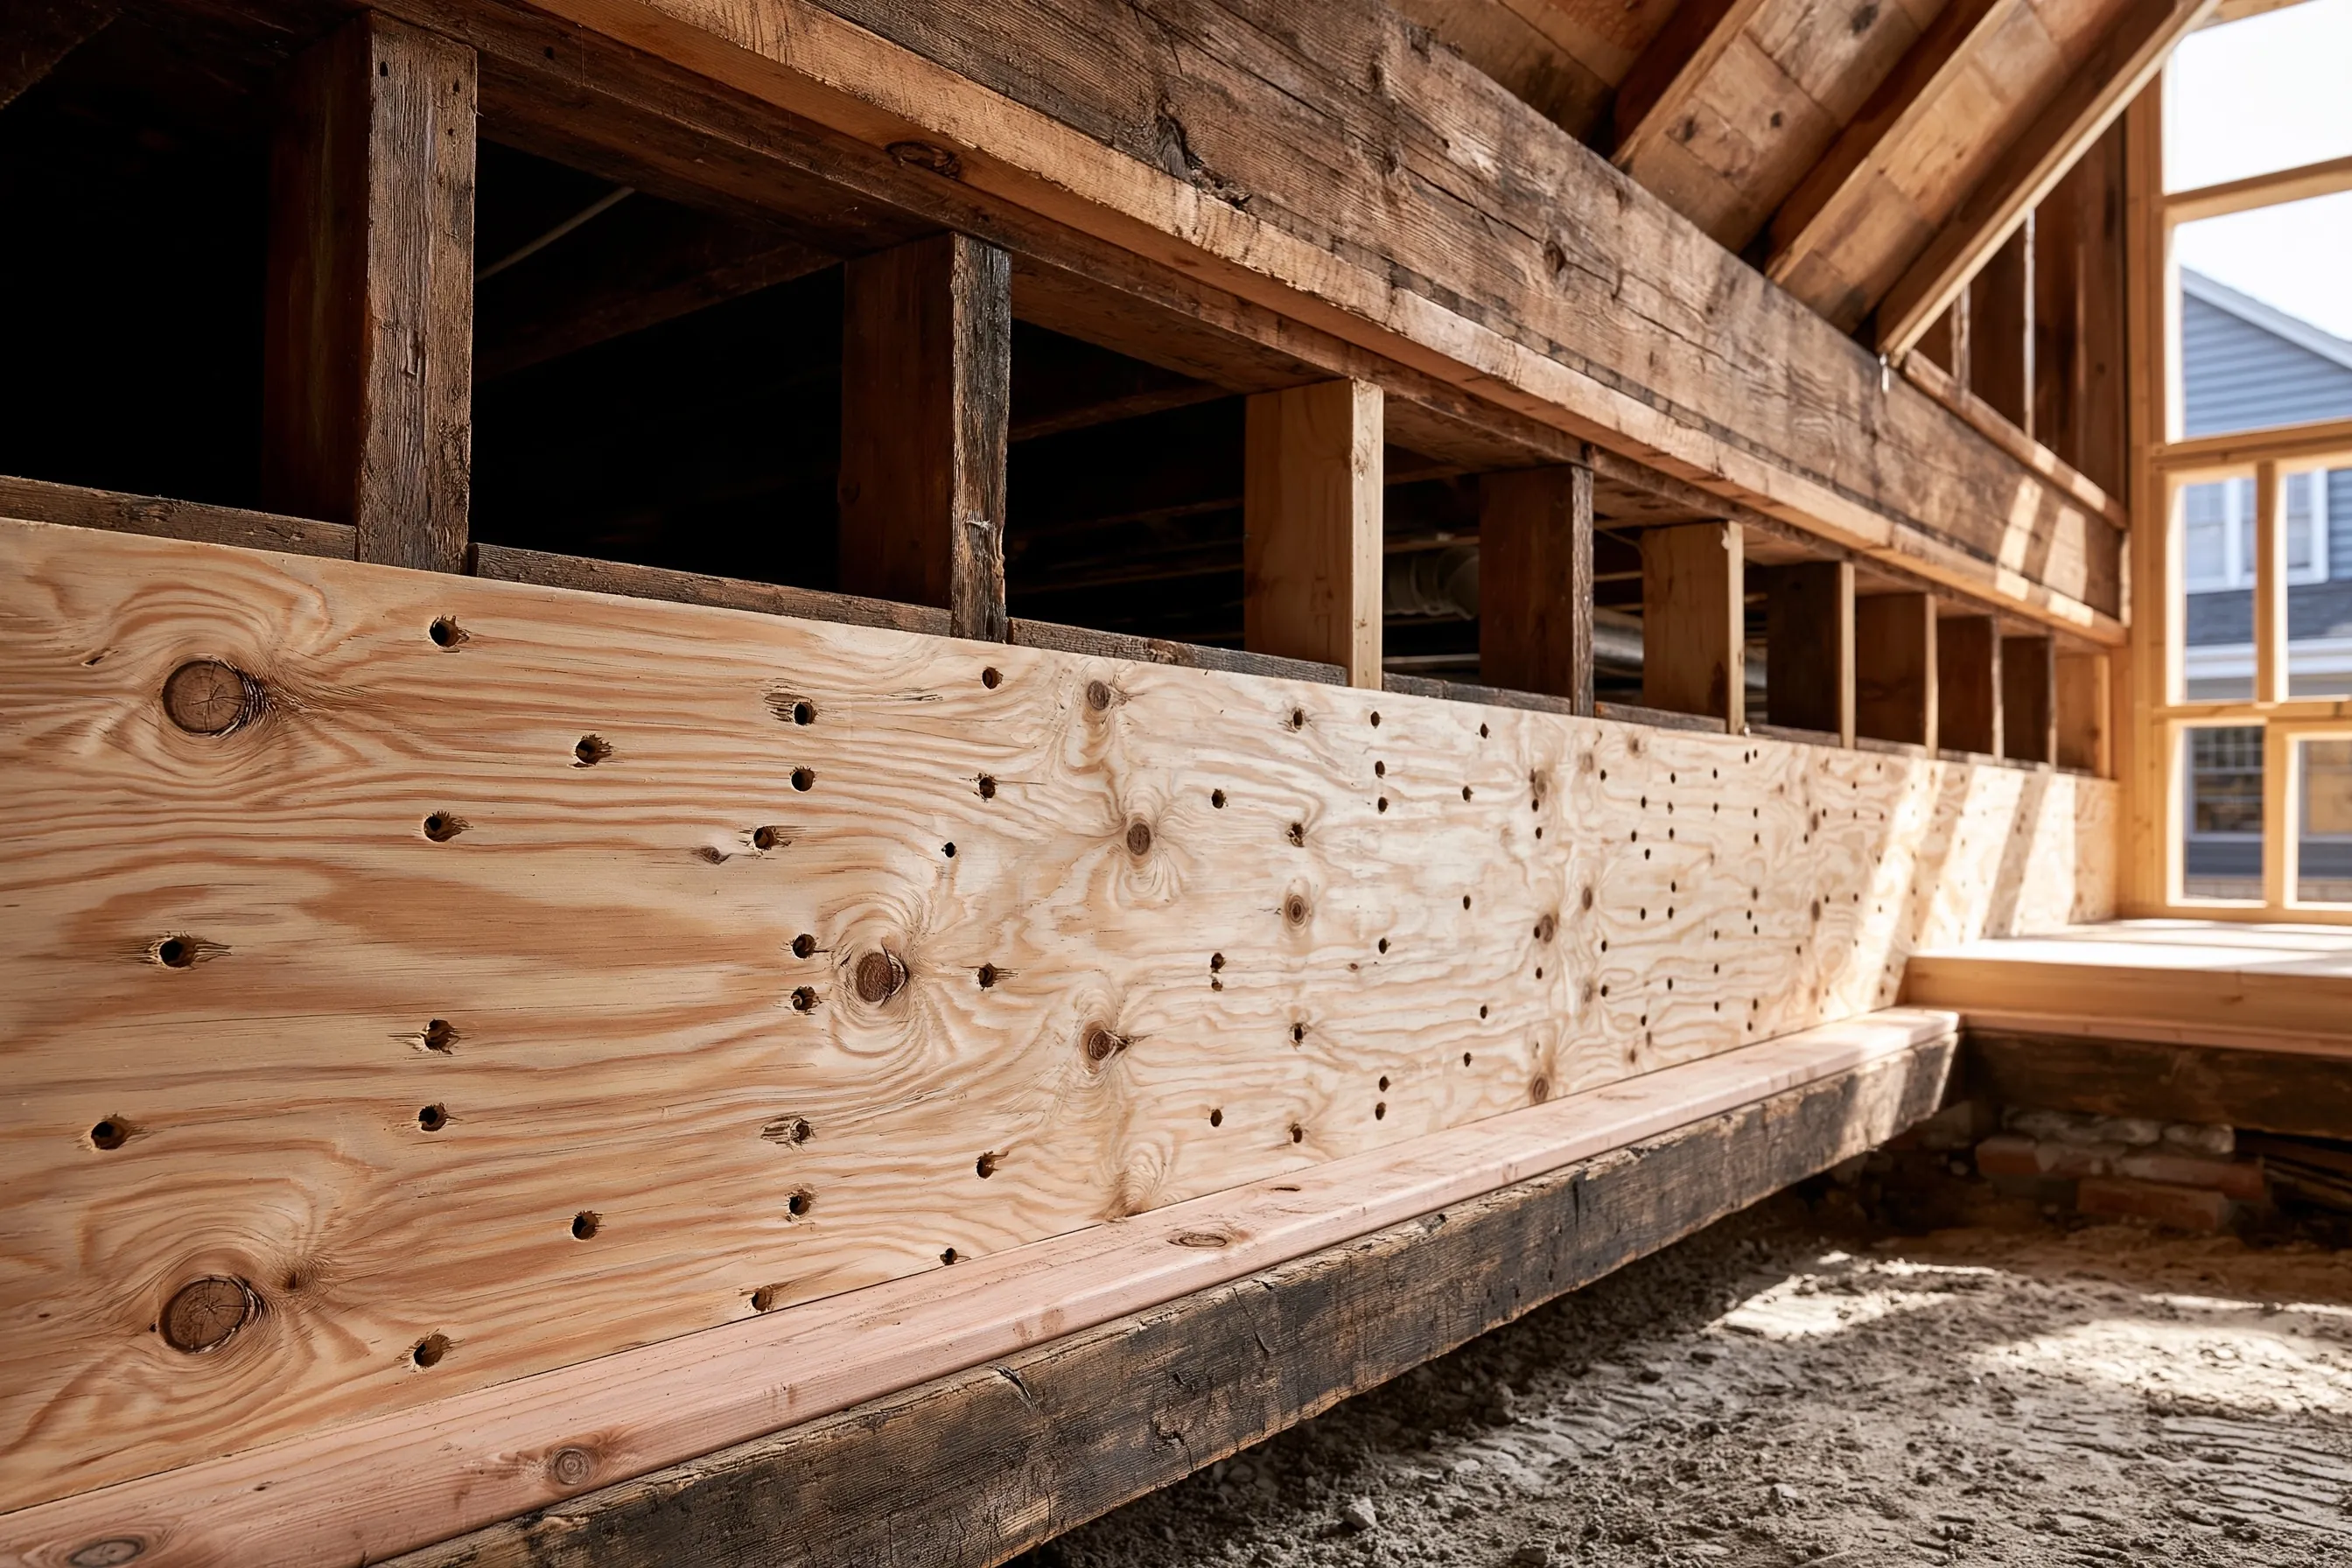
Short wall of old dark framing covered with new plywood nailed in a regular pattern, with a framed window at the right and sandy ground
Home
About 3,000 sq ft house in Clyde Hill with a crawlspace
Original request
Tie the house down and brace the short walls before the kitchen is opened up
Walls
Short walls between the foundation and the floor, in old dark framing
Bracing
New plywood nailed in a regular pattern
Not included
The kitchen remodel and permit costs
Cost
$16,500

Scope of work

Bolts through the sill, connector plates and plywood on the short walls around the house, nailed in the set pattern. The kitchen remodel, permit costs and any engineer’s design are not part of this cost.

Project overview

In this example, the owners of a large house in Clyde Hill plan a kitchen remodel. Before the walls above are opened, they want the house tied to its foundation and the short walls below it braced.

The plan bolts the sill and covers the short walls with plywood. It reduces risk and does not make the house earthquake-proof, and the city has the final word on whether a permit applies.

The goal

The goal is a larger house tied to its foundation with braced short walls, finished before the remodel starts.

Process

  1. Before work The walls are measured, the sill is checked, and the plan and the permit question are settled with the city.
  2. Bolting Bolts and plates go through the sill into the foundation.
  3. Bracing Plywood is nailed to the short walls in the pattern the plan shows.
  4. Hand over The bracing is photographed so the remodel can work around it.

Planning right

  • Do the bracing before the remodel, so the new finishes do not have to be taken off.
  • Ask the plan to say which short walls get plywood and which do not.
  • Have the sill checked for rot before bolts go in.
  • Ask what the retrofit does and does not do for your house.

Get a free quoteMore about seismic bolting

A footing drain along the entry side of a split-level

Example project

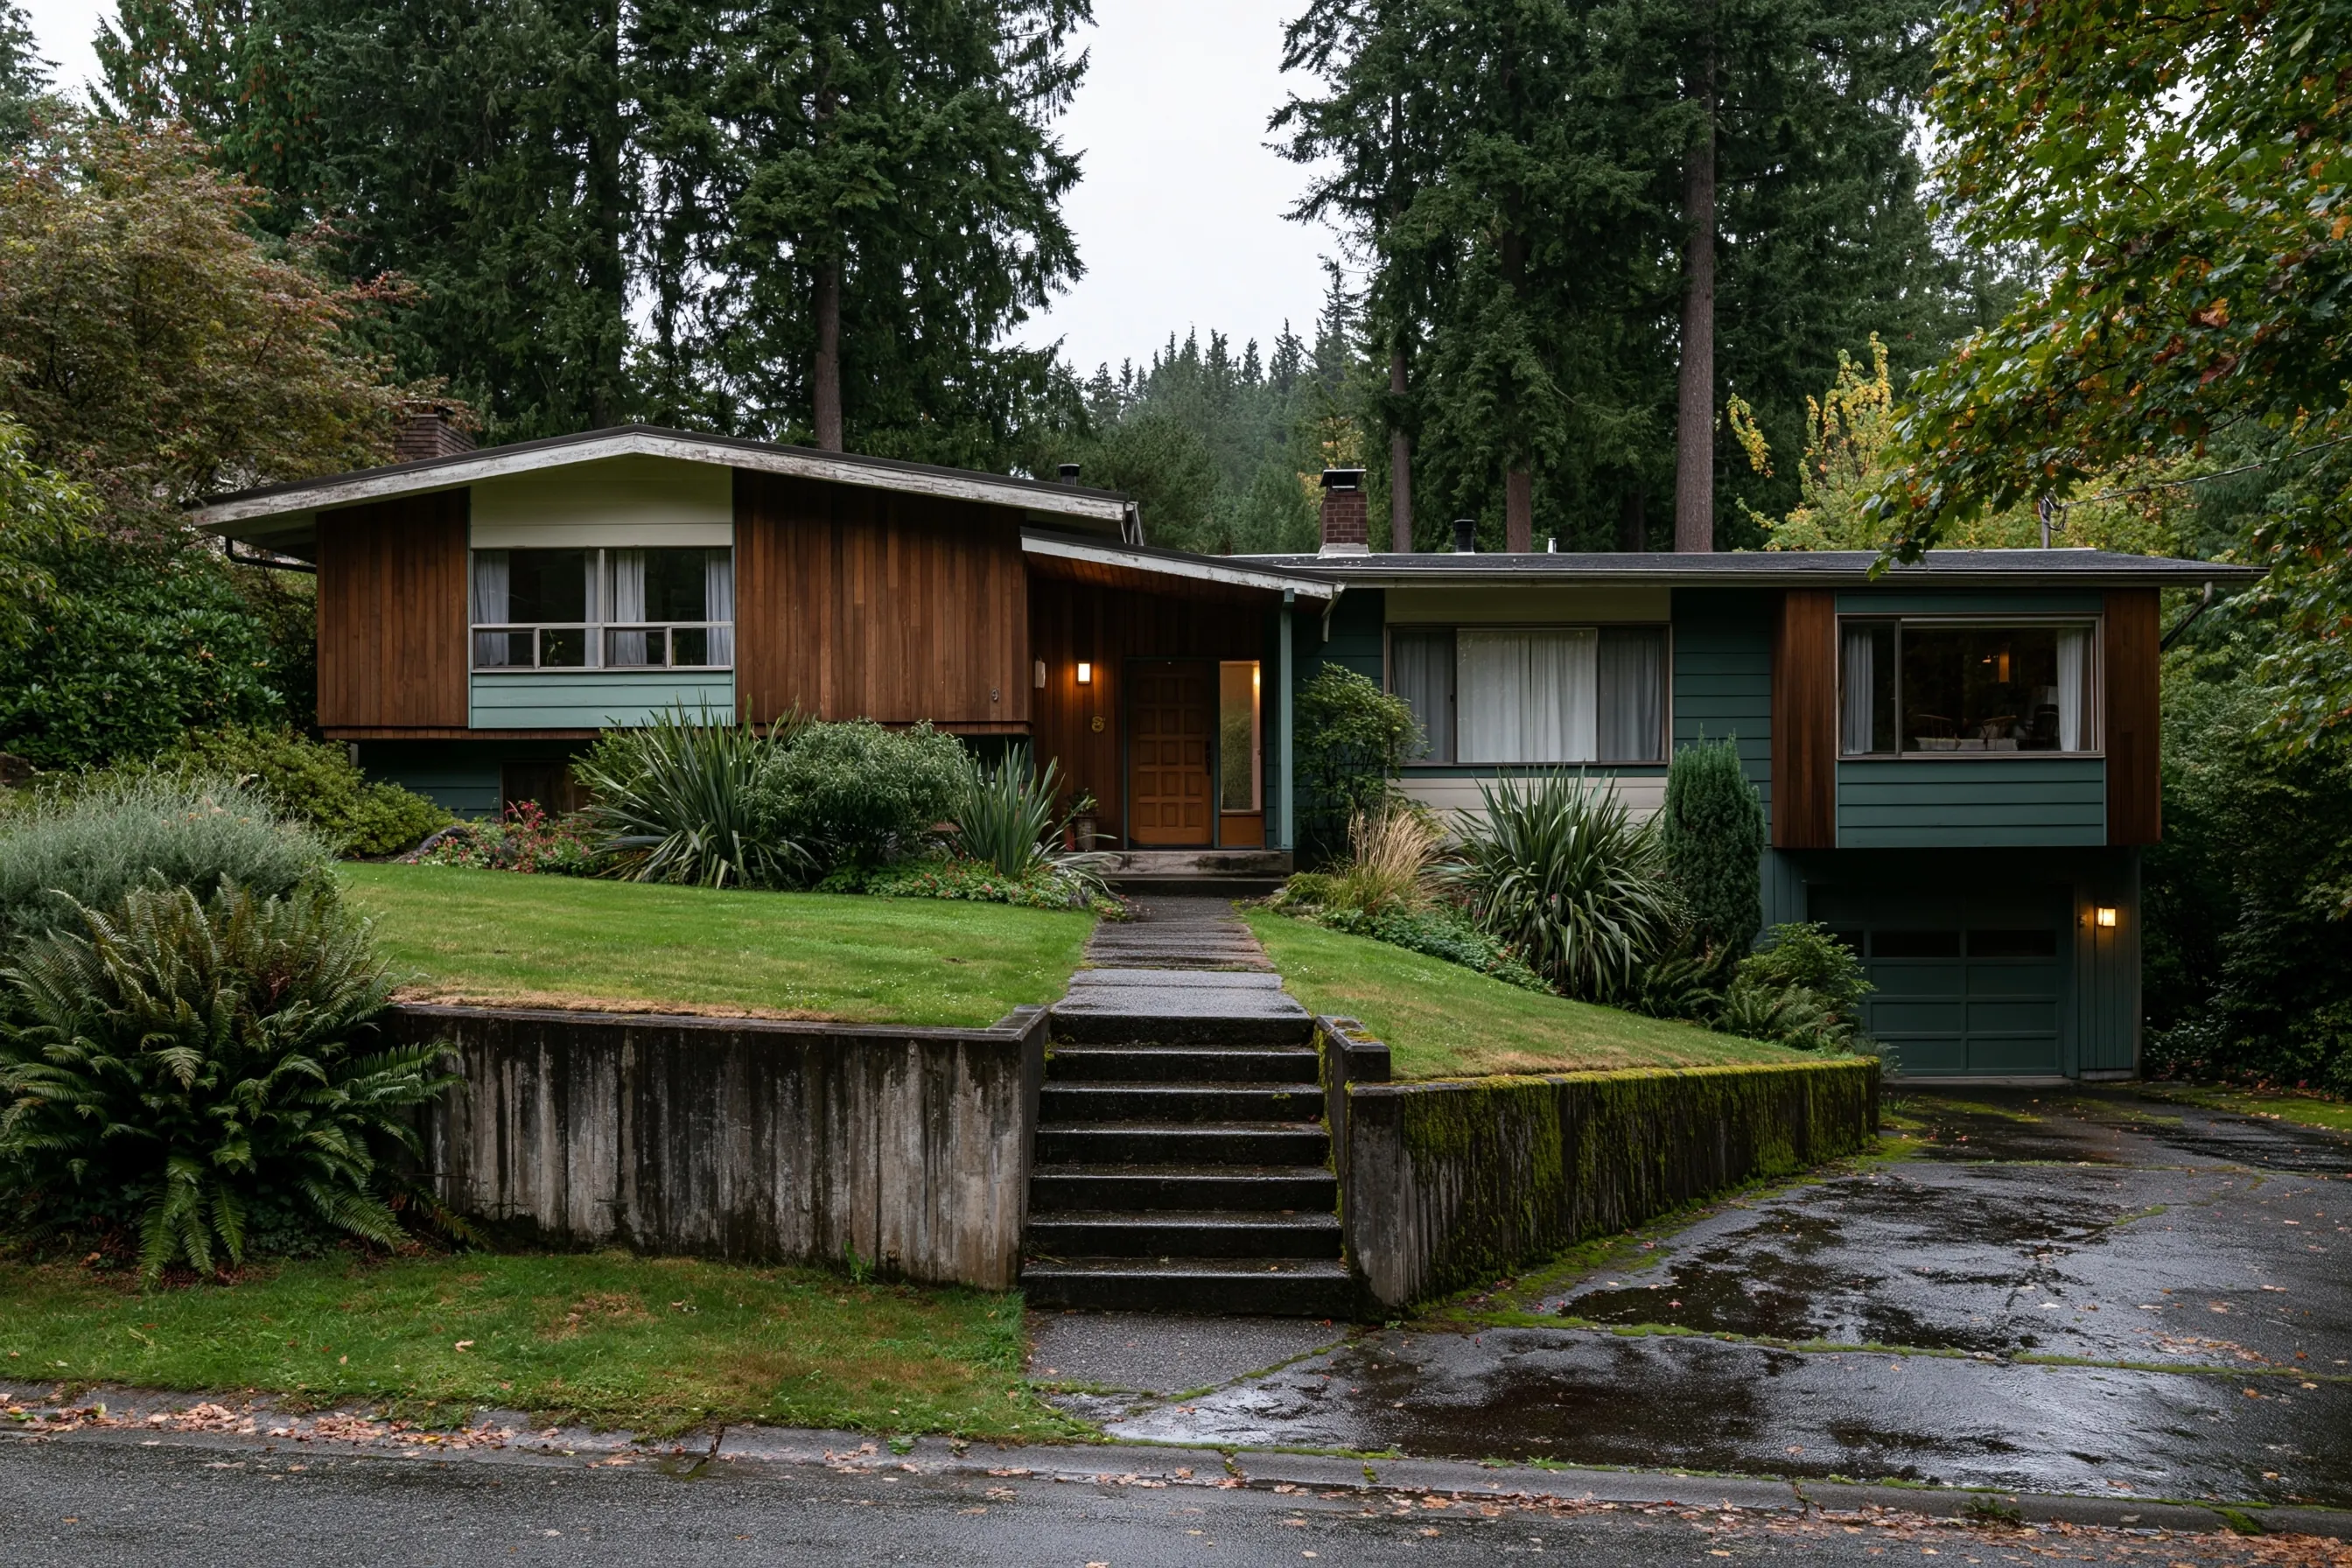
Front of a split-level house with vertical wood and green horizontal siding, a wood front door, low mossy concrete retaining walls on each side of the entry steps, a wet driveway and tall firs
Home
Split-level house in Kenmore on a sloped lot
Original request
Water that collects along the front of the house after rain
Site
Low mossy concrete retaining walls beside the entry steps and a wet driveway
Work
A drain along the front wall at the lower level, run to a safe outlet
Not included
Retaining wall work and planting
Cost
$3,700

Scope of work

Cutting about 30 ft along the lower front wall down to the footing, then perforated pipe bedded in washed gravel with a fall to a safe outlet, and backfill. Retaining wall work and planting are not part of this cost.

Project overview

In this example, the owners of a split-level house in Kenmore see water collect at the front after rain. The lot slopes, low retaining walls sit beside the entry steps and the driveway stays wet.

The plan puts a drain along the front wall at the footing and sends it to a safe outlet. The retaining walls are looked at only to see where the drain can run.

The goal

The goal is a drain along the front wall that gives the water a way out, with the route and outlet written down.

Process

  1. Before work The front is walked in the rain if possible, and the outlet and the route past the steps are chosen.
  2. Dig A trench is cut along the lower wall to the footing.
  3. Drain A perforated pipe goes in on gravel and runs to the outlet.
  4. Close up Gravel and soil are backfilled in layers and the run is tested.

Planning right

  • Watch where the water runs on a rainy day and note what the driveway does.
  • Ask where the outlet will be, because a sloped lot limits the choices.
  • Tell us about any drain you already have so we do not cut across it.
  • Keep a clear path along the wall for the trench.

Get a free quoteMore about foundation drainage

Request a free foundation repair quote

Send the address, say what you see and where, and add a photo if you have one. We'll get back to you soon to arrange a visit or with any questions we have. Estimates are free and there's no obligation.

Call (425) 522-5661

Call (425) 522-5661